

Commercial Security
Security Camera Installation: What Professional Installation Actually Involves

When facility managers evaluate security camera installation proposals, they often face a frustrating challenge: every contractor claims to deliver “professional installation,” but the quality gap between vendors can be enormous. Some installers treat the job as simply mounting cameras and plugging in cables. Others follow a systematic process that ensures your surveillance system performs reliably for years, not months. Understanding what professional installation actually involves helps you distinguish between these approaches, evaluate proposals with confidence, and set realistic expectations for what your investment should deliver.
We wrote this guide for commercial facility managers, property directors, and building owners who need to evaluate security camera installation contractors or justify installation budgets to stakeholders. If you manage multi-unit residential properties, commercial offices, industrial facilities, or retail locations across Canada and the United States, this content addresses your specific concerns about installation quality, contractor accountability, and long-term system reliability.

This article is not for homeowners looking for DIY camera setup instructions or consumers comparing residential security packages. We focus exclusively on commercial-grade installation practices that meet the reliability standards commercial operations require. If you’re evaluating contractors for a business facility and want to understand what separates professional work from handyman approaches, read on.
Why Installation Quality Determines Long-Term System Performance
The camera hardware you select matters, but installation quality ultimately determines whether your surveillance system delivers reliable performance over its 5-10 year lifecycle. We’ve seen facilities with excellent camera equipment fail within months because of substandard installation practices. Conversely, properly installed systems using mid-tier equipment often outperform premium hardware that was poorly deployed.
Installation failures typically manifest in three ways:
- Cable-related degradation: Improper routing near electrical interference sources, inadequate support intervals, or outdoor-rated cable used indoors (and vice versa) creates signal degradation that worsens over time
- Mounting failures: Inadequate structural assessment leads to camera drift, vibration-induced blur, or water intrusion at penetration points
- Hidden configuration issues: Skipped testing creates problems that emerge months later—motion detection zones that miss critical areas, recording schedules that don’t match operational hours, or network configurations that create bandwidth bottlenecks
These issues rarely appear during the first week. They surface during the winter storm that exposes inadequate weatherproofing, the investigation that reveals the camera angle shifted months ago, or the network upgrade that crashes your video system because nobody documented the original configuration. Professional installation anticipates these scenarios and builds in protection from day one.
The Professional Installation Process: Survey Through Commissioning
Professional security camera installation follows a structured workflow that DIY approaches and handyman installations consistently skip. Understanding this process helps you evaluate whether a contractor actually delivers professional service or simply claims to.
Pre-Installation Site Survey
Before any equipment arrives on site, professional installers conduct a thorough site assessment. This isn’t a quick walkthrough—it’s a systematic evaluation that informs every subsequent decision.
A proper site survey assesses:
- Mounting surface conditions (masonry, metal siding, wood, drywall) and structural integrity
- Cable pathway options, including existing conduit, ceiling voids, and wall cavities
- Power availability and whether existing infrastructure can support PoE switches or if additional electrical work is needed
- Environmental factors: lighting conditions at different times, weather exposure, temperature extremes
- Network infrastructure: switch locations, available ports, bandwidth capacity
- Building code considerations and permit requirements
This survey produces a documented installation plan—not a mental checklist. You should receive cable route maps, mounting location specifications, and equipment staging plans before installation begins.
Installation Planning and Equipment Staging
Professional contractors stage equipment and materials before the installation crew arrives. This includes verifying that all camera hardware matches specifications, pre-configuring network video recorders where possible, and organizing cables and mounting hardware by location. Proper staging prevents the “we’ll need to come back” scenario that plagues amateur installations.
Physical Installation
The installation phase includes mounting cameras, pulling and terminating cables, and making necessary penetrations. This is where the quality gap between professional and amateur work becomes most apparent.
Professional installers:
- Assess structural load capacity before drilling mounting holes
- Select appropriate fasteners for each mounting surface type
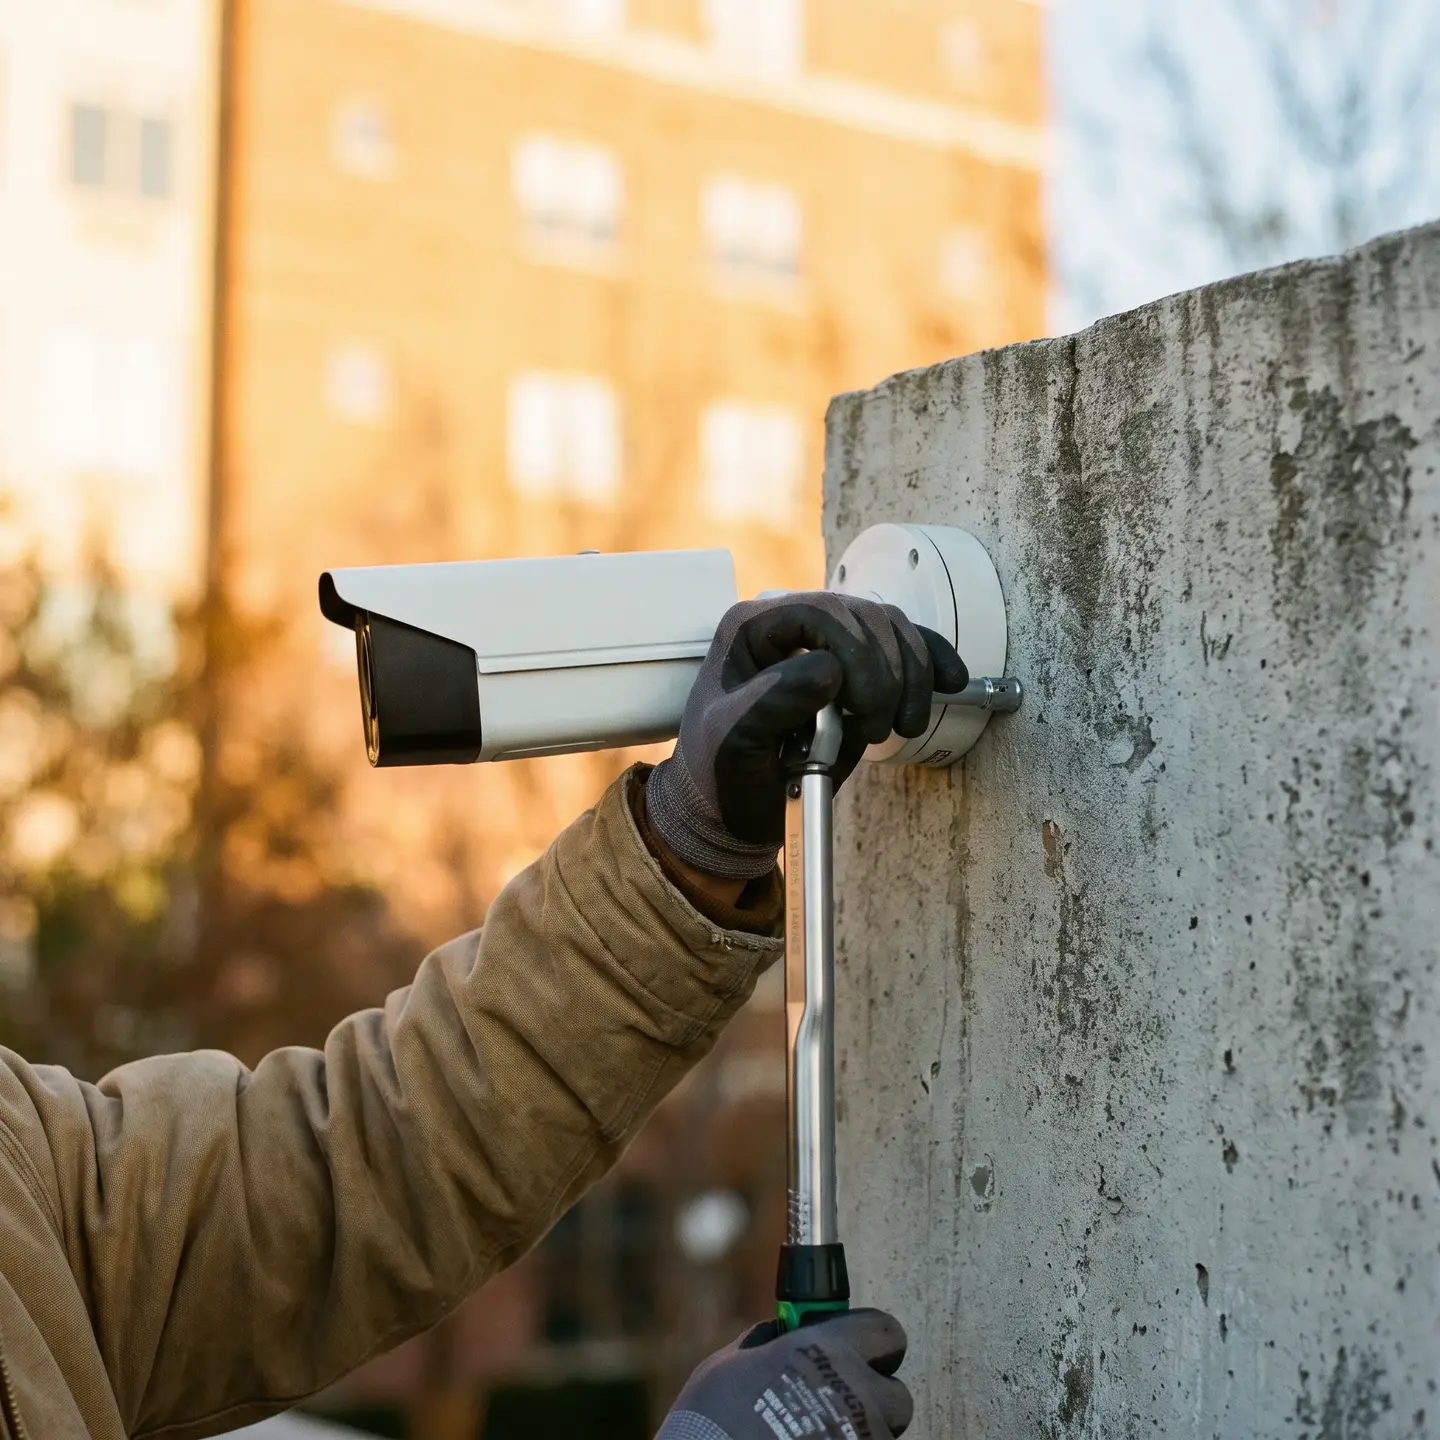
- Follow manufacturer torque specifications for camera housings
- Create weatherproof cable entries using proper boots, grommets, and sealants
- Maintain cable bend radius requirements to prevent signal degradation
- Label all cables at both termination points for future serviceability
Amateur installers often drill into convenient locations regardless of structural suitability, use generic fasteners, and treat cable management as an afterthought. The results look similar on day one but diverge dramatically over time.
System Integration
Once physical installation is complete, the system integration phase configures all components to work together. This includes NVR setup, IP address assignment, network integration, and software configuration. Professional installers document every configuration decision because they know someone will need this information for maintenance, troubleshooting, or system expansion.
Formal Commissioning
Commissioning is the verification phase that confirms the installed system meets performance specifications. It’s also the step most frequently skipped by lower-tier contractors rushing to the next job. We’ll cover commissioning protocols in detail below.
Cable Infrastructure: Why Proper Routing Matters for Reliability
Your cameras connect to the network through security system wiring infrastructure that either supports reliable operation or becomes a constant maintenance headache. Cable infrastructure decisions made during installation determine which outcome you get.
Conduit vs. Direct Routing Decisions
Professional installers evaluate each cable run individually rather than applying a one-size-fits-all approach. Conduit provides physical protection and simplifies future cable replacement but increases installation cost and complexity. Direct routing through ceiling voids or wall cavities works well in protected environments but exposes cables to damage in high-traffic or exposed areas.
The decision factors include:
- Physical accessibility for future maintenance
- Exposure to mechanical damage, rodents, or environmental factors
- Building code requirements for the specific pathway
- Whether future system expansion might require additional cable pulls
Separation from Electrical Interference
Running data cables parallel to electrical wiring—or too close to fluorescent lighting, motors, or other interference sources—creates signal degradation that may not appear immediately. Following BICSI structured cabling standards ensures proper separation distances that prevent these issues.
Support Intervals and Cable Management
Cables need proper support at regular intervals to prevent stress on connectors and maintain performance over time. Professional installations use appropriate J-hooks, cable trays, or other support methods at manufacturer-specified intervals. Cables bundled loosely and draped across ceiling tiles will eventually sag, stress termination points, and create intermittent connection issues.
Weatherproofing at Penetrations
Every exterior penetration—whether through a wall, soffit, or roof—represents a potential water intrusion point. Professional weatherproofing includes properly sized conduit fittings, exterior-rated sealants, and drip loops that direct water away from cable entries. Amateur installations often rely solely on silicone caulk, which degrades over time and allows moisture into cable pathways and junction boxes.
For deeper technical coverage of cable specifications and wiring standards, visit our Security Wiring page.
Mounting Considerations: Structural Requirements and Weatherproofing
Camera mounting involves more than finding a spot with a good view and drilling holes. Structural assessment, proper fastener selection, and weatherproofing techniques determine whether your cameras stay aligned and protected or drift, corrode, and fail prematurely.
Structural Assessment by Mounting Surface
Different surfaces require different approaches:
- Masonry (concrete, brick, block): Requires proper anchor selection, pilot hole sizing, and torque limits to prevent cracking
- Metal siding: Needs backing plates to distribute load and prevent panel deformation
- Wood/soffit: Requires assessment for rot, adequate thickness, and appropriate lag bolt selection
- Drywall/interior surfaces: Often requires toggle bolts or mounting to structural members behind the finish surface
Professional installers carry assorted mounting hardware and assess each location individually rather than using the same screws for every camera regardless of surface type.
Environmental Protection
Outdoor cameras face wind load, vibration, temperature cycling, and moisture—all of which degrade mounting integrity over time. Professional mounting accounts for:
- Wind load calculations for exposed locations
- Vibration dampening for cameras mounted on structures that move (light poles, metal buildings)
- Thermal expansion considerations for mounts attached to metal surfaces
- Tamper resistance in publicly accessible areas
Cable Entry Weatherproofing
Where cables enter camera housings or penetrate exterior walls, professional installers create weatherproof seals using:
- Properly sized conduit fittings with integrated gaskets
- Weatherproof junction boxes with appropriate NEMA ratings
- Drip loops that prevent water from following cables into enclosures
- Exterior-rated sealants applied correctly (not as the primary weatherproofing method)
Testing and Commissioning: What Should Be Verified Before Handoff
Commissioning is the systematic verification that every component works as specified. This phase separates professional installation from “we got it working, good luck” approaches. Use the following checklist to evaluate whether your installer completed proper commissioning:
Camera Verification Checklist
- Focus and alignment: Each camera is focused correctly and aimed at the intended coverage area
- Day performance: Image quality meets specifications under normal lighting
- Night performance: Infrared illumination provides adequate coverage without hot spots or dead zones
- Motion detection zones: Configured for each camera based on actual coverage needs, tested for proper triggering
- Weather exposure: Outdoor cameras verified for proper housing seal and drainage
Network and Recording Verification
- Network connectivity: Each camera maintains stable connection without packet loss
- Bandwidth verification: Network can handle all cameras streaming simultaneously at specified quality levels
- Recording functionality: All cameras recording to NVR with proper retention settings
- Playback verification: Recorded footage can be retrieved and viewed at expected quality
- Remote access: Authorized users can access live and recorded video from remote locations
- Failover testing: System behavior verified during network interruption or power loss scenarios
Integration Testing
For systems integrating with access control or other security components, commissioning should verify that event triggers work correctly—for example, that door access events trigger corresponding camera recording, or that alarm events bring up associated camera views. Our commercial video surveillance systems are designed for this kind of integration, and proper commissioning ensures the integration actually works.
If your installer cannot provide documentation showing these tests were completed, you have no assurance the system will perform when you need it.
Documentation You Should Receive From a Professional Installer
Professional installation produces documentation that supports ongoing maintenance, troubleshooting, and future system expansion. The absence of proper documentation indicates incomplete or substandard installation practices, regardless of how the system appears to function initially.
Required Deliverables
As-built drawings: Floor plans or site drawings showing actual camera locations, cable routes, and equipment placement. These may differ from original plans if site conditions required adjustments.
Equipment documentation:
- Camera serial numbers and warranty information
- NVR/server specifications and warranty details
- Switch and network equipment information
- Mounting hardware specifications
Network configuration:
- IP address assignments for all devices
- VLAN configurations if applicable
- Port assignments on switches
- Firewall rules for remote access
Access credentials:
- Administrator login information for all system components
- User account structure and permissions
- Remote access configuration details
Operational documentation:
- Maintenance schedules and procedures
- Troubleshooting guides for common issues
- Warranty claim procedures
- Support contact information
Why Documentation Matters
When a camera fails two years after installation, proper documentation tells the maintenance technician exactly what model it is, where the cable runs, what IP address it should have, and whether it’s still under warranty. Without this documentation, troubleshooting becomes guesswork, and system expansion requires re-surveying work that should have been documented originally.
The Security Industry Association installation standards emphasize documentation as a core deliverable of professional installation—not an optional extra.
What Professional Installation Costs—And Why
Professional installation costs more than handyman services because it includes activities that directly impact long-term system reliability: site surveys, proper cable infrastructure, structural mounting assessment, comprehensive testing, and complete documentation. When evaluating proposals, understand that significantly lower bids typically indicate skipped steps rather than superior efficiency.
Factors that legitimately affect installation complexity and cost:
- Number of cameras and total cable distance
- Mounting surface types and accessibility
- Network infrastructure requirements
- Integration with existing access control or alarm systems
- Environmental conditions (outdoor exposure, industrial environments)
- Documentation and training requirements
When proposals vary significantly, ask what’s included. The lowest bidder often excludes site surveys, provides minimal documentation, and skips formal commissioning—costs that eventually surface as service callbacks, integration headaches, and premature equipment failure.
Evaluating Contractors: What to Ask
Armed with an understanding of professional installation practices, you can evaluate contractors more effectively. Consider asking:
- “Walk me through your site survey process.” Professional contractors can describe their systematic approach. Vague answers suggest they skip this step.
- “What documentation will I receive at project completion?” The answer should include as-built drawings, network configuration, and equipment records—not just a receipt.
- “Describe your commissioning and testing protocol.” Look for specific test procedures, not general assurances that “we make sure everything works.”
- “What manufacturer authorizations do you hold?” Authorized dealers receive training, access to support resources, and can provide manufacturer-backed warranties.
- “Can you provide references from similar commercial installations?” Residential experience doesn’t translate directly to commercial requirements.

Contractors who struggle to answer these questions clearly may deliver functional installations but likely skip the professional practices that ensure long-term reliability.
The Long-Term Value of Professional Installation
When we work with facility managers on professional system installation services, we often hear about previous experiences with cheaper contractors who delivered systems that worked initially but created ongoing problems. Cameras that drifted out of alignment. Cable runs that failed during temperature extremes. Configurations that nobody documented, making troubleshooting impossible.
Professional installation prevents these outcomes by building quality into every phase of the project. The site survey identifies potential problems before they’re built into the system. Proper cable infrastructure ensures reliable signal transmission for years. Structural mounting keeps cameras aligned despite environmental stress. Comprehensive testing catches configuration issues before handoff. Complete documentation supports maintenance and future expansion.
For commercial facilities where surveillance systems protect assets, ensure safety, and support operational continuity, professional installation isn’t an optional upgrade—it’s the foundation that determines whether your security investment delivers lasting value.
If you’re evaluating security camera installation for commercial properties across Canada and the United States, our team can walk you through our survey-to-commissioning process and explain how our approach to IP camera system integration addresses the reliability concerns commercial operations face. We’d rather help you understand what professional installation involves than simply compete on price with contractors who skip the steps that matter most.
Frequently Asked Questions
A significantly lower bid may exclude essential work such as the site survey, structured cabling, formal commissioning, documentation, or integration testing—costs that can later appear as service calls and system failures.
Request as-built drawings, camera and equipment records, cable routes and labels, IP assignments, network settings, administrator credentials, warranty details, and maintenance information.
Each camera should be checked for alignment, focus, daytime and nighttime image quality, motion detection, recording, playback, network stability, retention settings, and remote access.
It should include a site survey, installation planning, proper mounting and cabling, system configuration, testing, commissioning, and complete handoff documentation.
A site survey identifies suitable mounting surfaces, cable routes, power and network requirements, lighting conditions, environmental risks, and applicable code requirements before work begins.